Hello my
lovelies!
I am so
so sorry for having been MIA for the last week or so, but everything’s just
been so busy… Christmas is only four (4!!!) weeks away and I’m completely stressed out over my presents.
But, and
I hope this doesn’t come too late for you but still just in time, here’s
something I have been working on: This beautiful DIY Christmas Advent Calendar!

I found
the Origami Lucky Stars online somewhere and immediately thought of turning
them into something Christmassy – and here we go!
This is
a really, really easy project to craft, and you barely need anything for it:

1)
Sheets
of paper (I used coloured one, but you can take anything you want)
2)
scissors
3)
thread
and a needle
(4) a
pen)
(5) ribbon)
(6) numbered clips)
I
started with looking up cute quotes on the internet – some with Christmas
already in mind, but most of them just
chosen because I thought they would put a smile on your face when you’d read
them in the morning. The biggest problem I found was that you only need 24 of
them. And there are so many, so beautiful quotes to be found online! WAAH!
Anyway,
you don’t have to use quotes for it – you could write down some jokes inside,
memories you connect with that particular person or sweet little messages. Your
choices are unlimited!
What I
did was write them all down in Microsoft Word, change each one into a different
font and print them out.
I
realized only later, when I was making the stars, that the larger they get, the
more difficult (Or even impossible) they get to make. So you’ll want to make
sure you only have one line on each strip of paper, or use a smaller font size
to make it easier for you.
Next
step is cutting them into strips – the longer they are, the easier. That’s why
I changed the layout to horizontal format.

Here’s
how you fold your Lucky Stars:
1.
Start
by making a knot into one end of your strip. Pull on the end and flatten down
the knot.
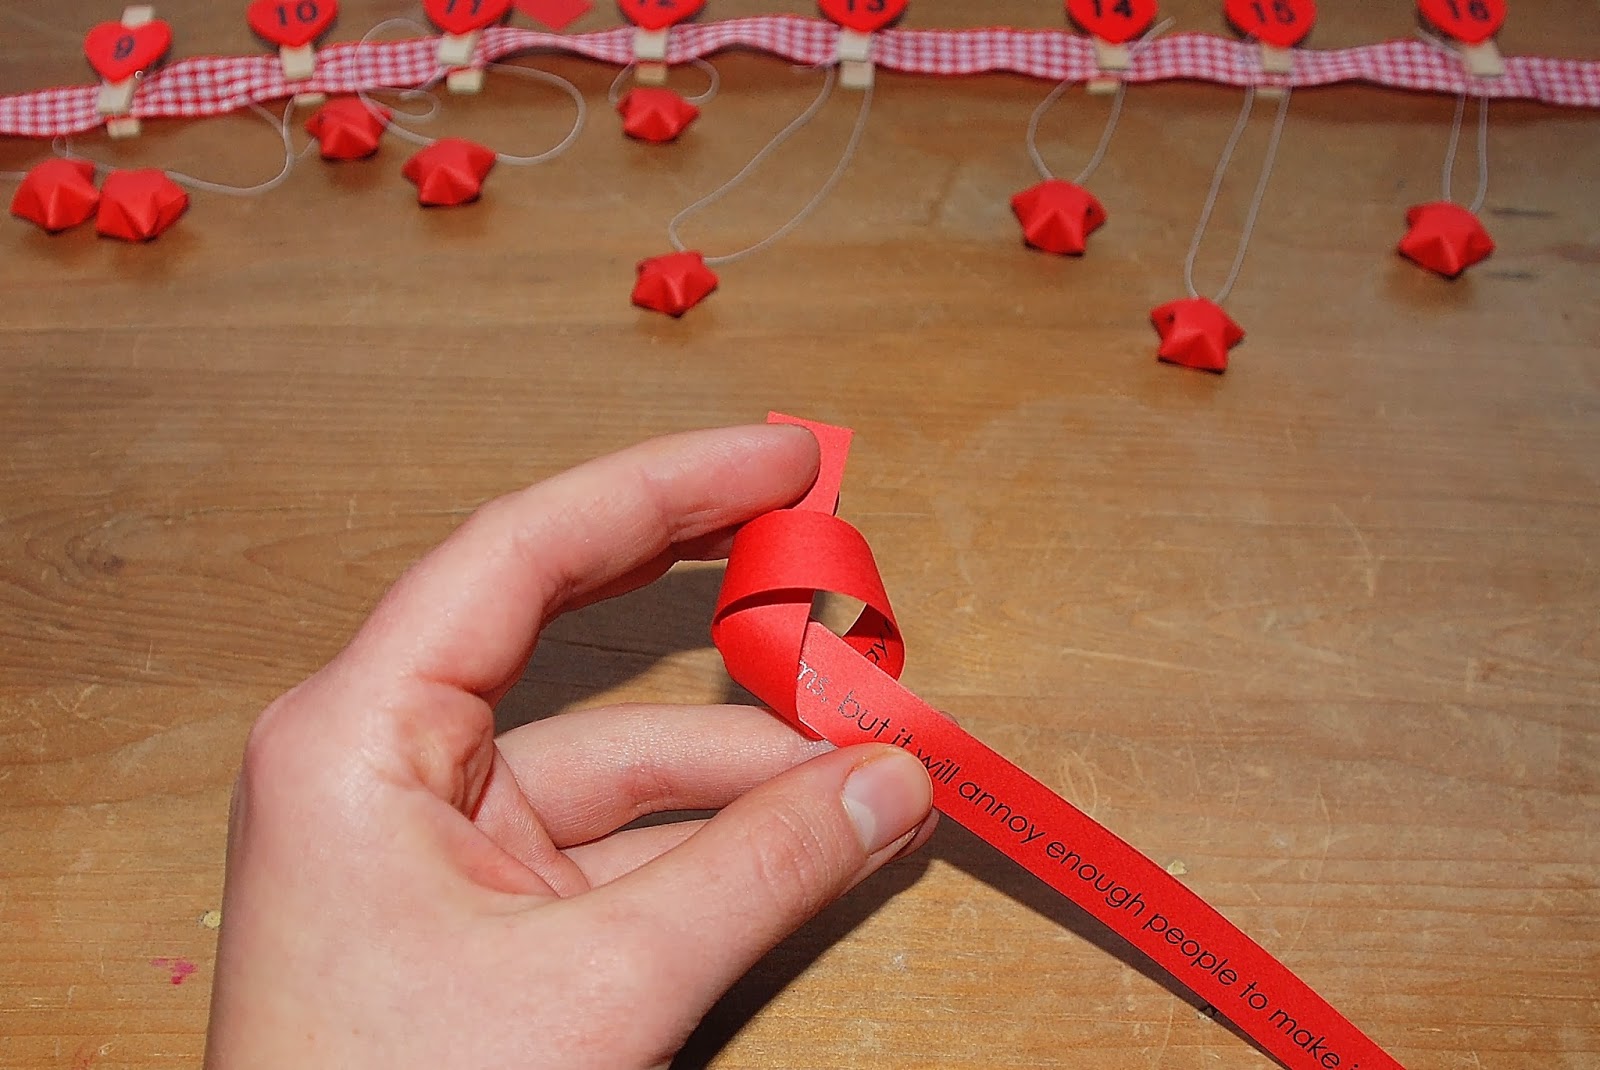


1. Fold
the left over end onto the backside of your knot.

2. Start
wrapping the longer end all around your pentagon. If you always fold your paper
exactly over the already existing edge, then it should turn out like this.


1. Fold
the last bit of paper over and tuck it underneath the previous layer. I now
drew a star onto the tucked away end, so that my friends would know where to
pull without looking for ages or just ripping it open because they can’t stand
the excitement anymore. But that’s completely up to you.

middle of each side of your pentagon. You star should now acquire its 3D-shape.

TADA!
That’s basically it – and there are various ways of hanging it up – or you can even
just put it into a bowl or jar!
I
threaded every star on simple sewing thread and then put them onto the
appropriate clips, but you can also just write the numbers onto the stars if
you don’t want to get clips or or or… Get creative!

I loved
this idea because it’s so simple and so personal and just so so cute!

I’d love to see your DIY calendars or even your takes on this one! I hope you all have a mighty fine first Advent weekend,
lots of love,
Kathybell
<3
No comments:
Post a Comment